How to Clean Stretch Fabric Graphics: The Professional Maintenance Guide
Professional fabric maintenance is about preserving the tension, not just the colour. Your high-impact display is a precision-engineered asset that defines your brand’s presence at every exhibition, so it’s natural to feel a spike of anxiety when a coffee splash hits the base or when the fabric looks dull after a week on a high-traffic floor. You don’t want to risk shrinking a custom-fitted graphic or causing expensive ink to bleed. If you are searching for how to clean stretch fabric graphics without compromising that perfect tension-fit, you need a protocol rooted in technical expertise.
We agree that maintaining a pristine, professional appearance is non-negotiable for your business success. This guide delivers the exact maintenance standards required to ensure your dye-sublimated displays remain vibrant and precision-fitted for years of repeated use. You’ll find clear instructions on water temperatures and detergent types that protect the integrity of the polyester fibres whilst removing stubborn stains. We also detail professional drying and storage techniques that guarantee a wrinkle-free result every time you unpack for a new event, giving you total confidence in your display’s longevity.
Key Takeaways
- Understand how dye-sublimation technology embeds ink into polyester fibres, ensuring your graphics remain vibrant and resistant to fading even after multiple cleans.
- Master the essential protocols for how to clean stretch fabric graphics, from immediate spot removal with non-bio detergents to full machine-wash cycles that preserve fabric integrity.
- Learn why air-drying on the frame is the superior method for maintaining a precision tension-fit whilst avoiding the heat-induced shrinkage caused by tumble dryers.
- Discover professional storage techniques that protect silicone edges and prevent permanent creasing, keeping your displays exhibition-ready for years.
- Gain the technical confidence to manage high-traffic stains and long-term maintenance, ensuring your brand always presents a flawless, high-impact image.
Understanding Your Stretch Fabric Graphics and Print Technology
Performance begins with the material. To master how to clean stretch fabric graphics, you must first understand that these aren’t traditional textiles; they are high-performance polyester blends designed for technical precision. Unlike natural fibres, synthetic polyester possesses a “memory” that allows it to stretch over an aluminium frame and return to its original dimensions without sagging or permanent deformation.
Distinguishing between your display types is critical for long-term maintenance. A standard fabric banner relies on ambient light, whilst backlit graphics for light boxes are engineered with significantly higher ink density to maintain colour depth when illuminated. Treating them identically during maintenance is a common mistake. Backlit fabrics often feature specific light-diffusing coatings that require a gentler touch to avoid ghosting or streaking that only becomes visible once the lights are switched on.
The Role of Polyester in Tension Displays
Polyester is the industry benchmark for a reason. Its inherent durability and resistance to shrinking make it ideal for the rigours of the exhibition floor. When you tension a Silicone Edge Graphic (SEG), you rely on the material’s elasticity to pull the surface taut. If you compromise the fibres through improper cleaning or excessive heat, you risk losing that precision fit, resulting in unsightly ripples.
A technical understanding of textile printing methods reveals why polyester is the perfect partner for dye-sublimation. During production, the fabric is subjected to intense heat, which opens the pores of the synthetic fibres to receive the ink. This creates a permanent bond. Because the ink is locked inside the fibre, it doesn’t sit on the surface where it could be easily scrubbed off or cracked during handling.
Dye-Sublimation vs Surface Printing
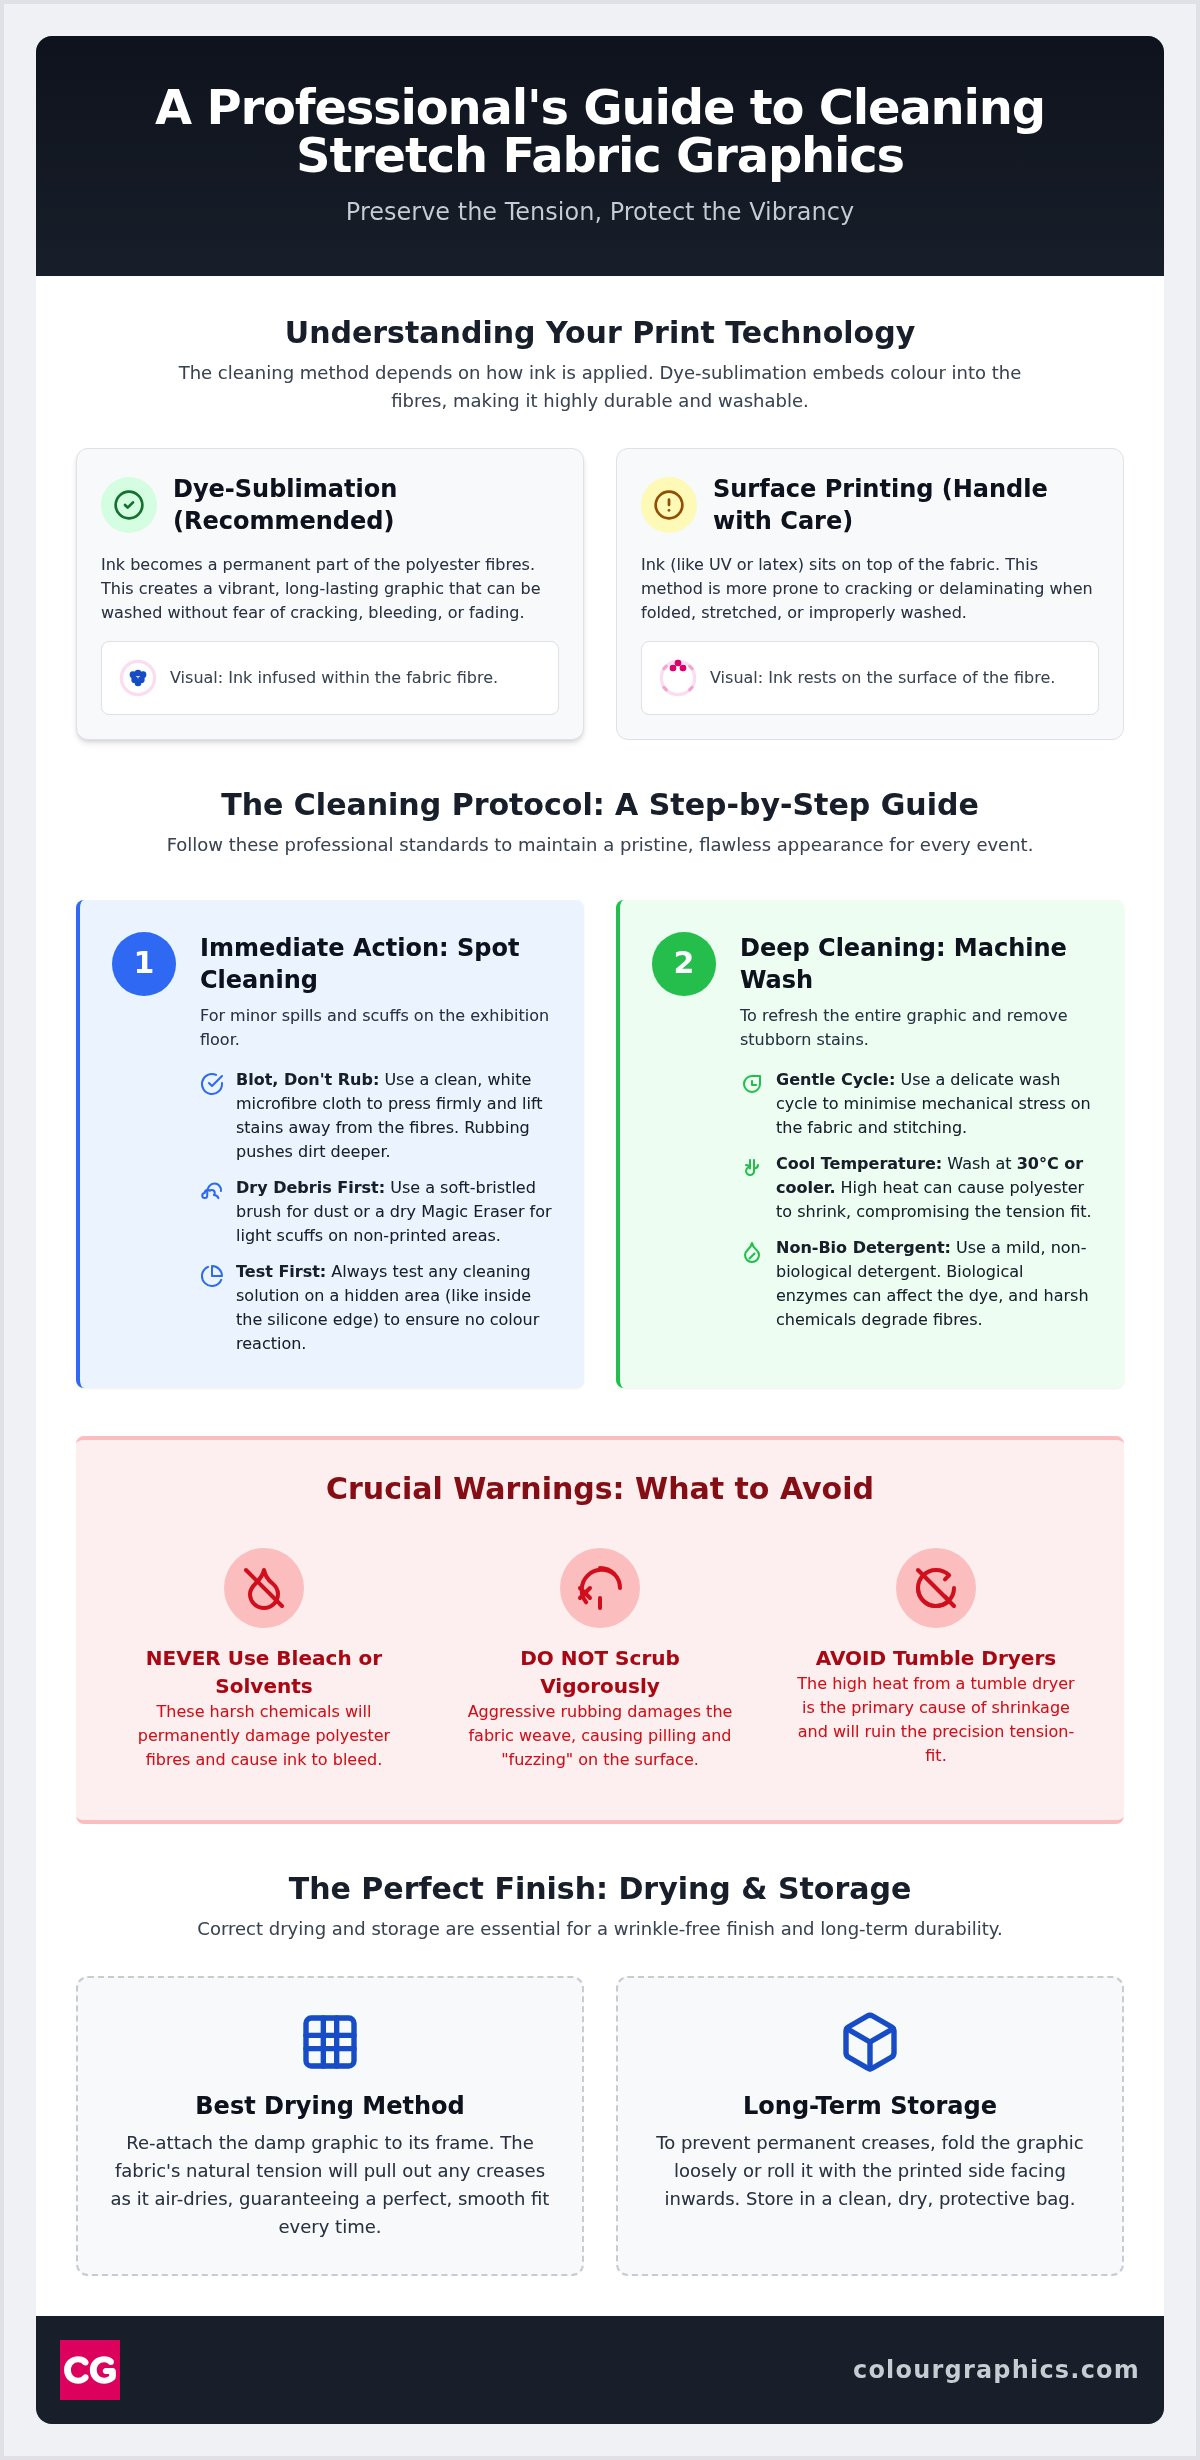
Not all prints are created equal. Surface printing methods, such as UV or latex, deposit a layer of ink on top of the fabric. These are excellent for certain applications, but they are prone to cracking or delamination when applied to stretch fabrics that are frequently folded or tensioned. Dye-sublimation is fundamentally different.
The sublimation process transforms the ink into a gas that permeates the polyester. Once cooled, the ink becomes an integral part of the textile. This is why dye-sublimated graphics are inherently more washable and durable. You aren’t just cleaning a print; you are cleaning the fabric itself. Knowing this distinction gives you the confidence to use water-based cleaning protocols without the fear of your brand’s imagery washing away or bleeding into the white space.
Immediate Action: Spot Cleaning and Stain Removal
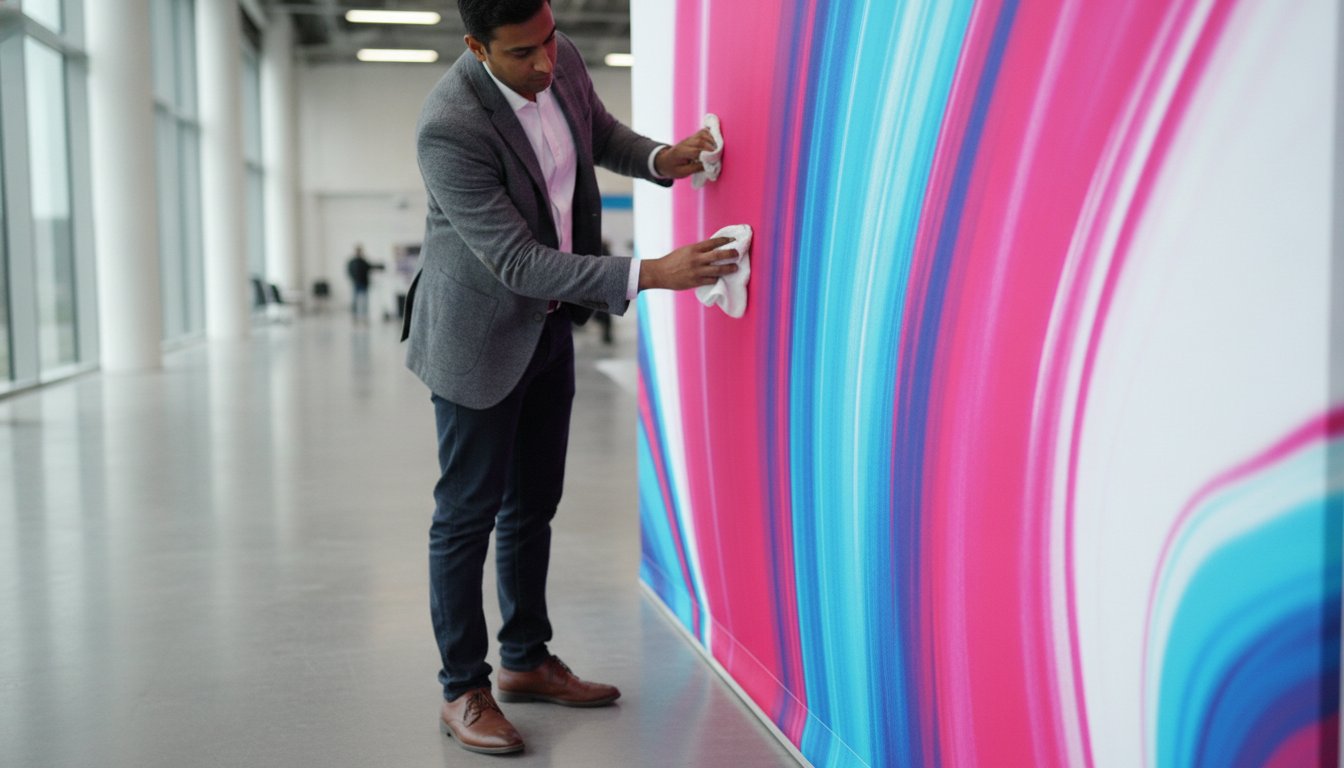
Immediate action is the best defence against permanent damage. When you’re on the exhibition floor and a mishap occurs, knowing how to clean stretch fabric graphics effectively can save a display from a costly replacement. The golden rule of maintenance is to always test your cleaning agent on an inconspicuous area, such as the fabric tucked inside the silicone gasket. This confirms the solution won’t react with the dye-sublimated ink or the specific polyester blend of your graphic.
Rubbing a stain is a critical error that many professionals make in a moment of panic. Friction forces the contaminant deeper into the polyester weave and can cause pilling or “fuzzing” of the surface. Instead, adopt a blotting technique. Use a clean, white microfibre cloth to press firmly onto the stain, lifting the liquid away from the fibres. This measured approach mirrors the standards of professional textile conservation, where the goal is to remove the soil without compromising the structural integrity of the material.
Removing Surface Dirt and Scuffs
Light scuffs from shoes or flight cases are common in high-traffic zones. A dry Magic Eraser is often the most effective tool for non-printed areas, lifting marks without the need for moisture. For dry dust or debris, use a soft-bristled brush to gently agitate the surface. If the mark persists after two or three gentle attempts, it’s time to transition from spot cleaning to a full wash. Over-scrubbing a single area creates a “clean spot” that looks just as out of place as a stain on a large-scale display.
Chemical Safety for Fabric Graphics
Chemical selection determines the longevity of your display. You must avoid bleach and solvent-based cleaners entirely; they break down the polyester bonds and cause ink migration. In the UK, always opt for mild, pH-neutral non-bio detergents. Using distilled water for spot cleaning is also a professional secret that prevents the unsightly limescale rings often left by hard tap water.
The distinction between bio and non-bio is vital. Biological detergents contain enzymes designed to break down organic matter, but these same enzymes can occasionally attack the synthetic coatings or specialised finishes on high-end Fabric Displays. Sticking to non-bio alternatives ensures you are cleaning the surface without degrading the high-performance “memory” of the stretch fabric. Mastering these small details is how to clean stretch fabric graphics while maintaining that signature precision fit.
Deep Cleaning: Machine Washing Protocols
Machine washing is often the most efficient route to restore a large-scale display. It demands a disciplined approach to prevent permanent damage. First, assess the size of your graphic. Standard domestic machines in the UK typically feature a 7kg to 10kg capacity. Cramming a massive 6-metre backdrop into a small drum leads to uneven cleaning and potential mechanical strain. If the graphic is too large for the drum to rotate freely, professional industrial laundering is the only safe path forward.
Preparation is key. You don’t need to remove the silicone edge gasket (SEG). In fact, removing it often damages the stitching and compromises the precision fit. Instead, fold the graphic with the print on the inside. This protects the face of the display from the drum’s surface. This level of meticulous handling is fundamental for long-term textile care and ensures the hardware remains functional for future events.
Setting the Correct Wash Cycle
Temperature is your most critical variable. Stick to the 30-degree rule. Excessive heat causes polyester fibres to lose their “memory,” leading to shrinkage that prevents the graphic from fitting its aluminium frame. Select the “Delicates” or “Hand Wash” setting on your machine. Keep the spin speed low, ideally below 800 RPM. High-speed spin cycles can bake in deep creases that are incredibly difficult to remove. This is a vital step in how to clean stretch fabric graphics while maintaining structural integrity.
Detergent Dosage and Rinsing
Less is always more. Use roughly half the detergent required for a standard load. Large format graphics have a vast surface area, so soap can easily become trapped in the weave. Use a mild non-bio liquid. Avoid fabric softeners entirely. They contain oils that coat the polyester, dulling the dye-sublimated ink and attracting dust. Ensure a thorough rinse cycle. Residual soap causes yellowing or creates streaks once the graphic is tensioned and illuminated. Check for residual stains before moving to the drying phase. If a mark persists, treat it whilst damp for the best results.
Drying and De-wrinkling for a Precision Fit
Drying is the most critical phase of how to clean stretch fabric graphics. Whilst washing removes the soil, the drying process determines whether the graphic will actually fit its frame. You must avoid tumble dryers at all costs. The intense heat of a dryer causes the polyester fibres to contract permanently, leading to shrinkage that makes re-installation impossible. It also warps the silicone edge gasket, causing it to buckle and lose its grip within the aluminium extrusion. This warping is often irreversible, meaning the graphic will never sit flush again.
For the best results, install the graphic whilst it is still slightly damp. The moisture provides a small amount of extra “give” in the material. As the fabric dries on the frame, the tension naturally pulls out minor creases and ensures a drum-tight finish. This method is far superior to drip-drying on a line, which can lead to uneven tensioning or “pooling” of moisture in the centre of the graphic. If you’ve ever struggled with a saggy display, frame-drying is the professional secret you’ve been missing.
The Air-Drying Process
If you cannot dry the graphic directly on the frame, you must hang it carefully. Use multiple points of contact to distribute the weight and prevent pressure marks or “dog-ears” at the corners. Ensure the room has high-quality ventilation; stagnant air leads to musty odours that are difficult to shift once the fabric is dry. Always dry your graphics indoors. Direct sunlight is a potent source of UV radiation that can cause dye-sublimated colours to fade or shift in just a few hours, particularly on darker prints.
Professional Steaming Techniques
Even with perfect drying, you may encounter stubborn fold lines from long-term storage. A professional handheld steamer is the industry-standard solution. Work from the bottom up. This allows the rising steam to pre-condition the fibres above your current working area, making the process faster and more effective. Keep the steamer head at least 5 to 10cm away from the fabric. Touching the steamer directly to the polyester can cause “glazing” or melting of the synthetic fibres, which permanently alters the light-reflecting properties of the graphic.
If you need high-impact Silicone Edge Graphics that maintain their precision fit through years of use, we deliver the durability your brand demands.
Long-term Care: Storage and SEG Maintenance
Preserving your investment requires a disciplined storage strategy. Once you’ve mastered how to clean stretch fabric graphics, the final challenge is ensuring they don’t degrade whilst sitting in a warehouse. The “Image-In” rule is your primary safeguard. Always fold or roll your fabric with the printed surface facing inwards. This protects the dye-sublimated imagery from external friction and accidental scratches during transit. It also prevents any residual moisture from transferring between graphics if they are stored in close proximity.
Rolling is technically superior for preserving the silicone edge gasket (SEG). It prevents the sharp kinks that occur when a gasket is folded repeatedly at the same point. However, rolling large-scale graphics is often impractical for shipping and logistics. If you must fold, avoid creating hard creases. A loosely folded graphic stored in a breathable bag will maintain its structural integrity far better than one compressed into a tight bundle. This prevents the silicone from becoming brittle or misshapen over time.
Environmental conditions are non-negotiable for high-performance textiles. Store your displays in a cool, dry, and dark environment. High humidity is a catalyst for mould growth on even the highest quality polyester blends. Similarly, consistent exposure to light can cause the synthetic fibres to become brittle. A climate-controlled storage area ensures that when you unpack for your next event, the fabric retains its signature “memory” and elasticity for a drum-tight fit.
Proper Folding Techniques
To minimise crease intersections, use a staggered folding method. Avoid folding the fabric in the exact same pattern every time. For premium displays or backlit graphics with high ink density, place sheets of acid-free tissue paper between the layers. This prevents ink transfer, often called blocking, which can occur under pressure. Never place heavy objects, such as aluminium extrusions or base plates, on top of your fabric storage bags. This weight can permanently deform the silicone gasket and crush the polyester fibres, making the next installation significantly more difficult.
When to Replace vs When to Clean
Even with the best care, every graphic has a natural lifecycle. You’ll eventually notice signs of fibre fatigue, where the material no longer recovers its shape after tensioning. If you see permanent ghosting or a loss of vibrancy that persists even after you’ve followed the protocols for how to clean stretch fabric graphics, it’s time for a refresh. Check the silicone edge periodically. If it feels brittle or has lost its snap when pushed into the frame, it will no longer provide the precision fit your brand requires. When cleaning no longer restores that high-impact look, transitioning to new fabric exhibition stands ensures your presentation remains flawless and modern.
Maximise the Lifespan of Your Exhibition Assets
Maintaining high-performance displays is a balance of technical knowledge and disciplined care. By adhering to the 30-degree rule and prioritising air-drying on the frame, you ensure your graphics retain the precision fit that defines a professional exhibition presence. These protocols protect the structural integrity of the polyester fibres whilst preserving the high-impact vibrancy of the dye-sublimated ink. Mastering how to clean stretch fabric graphics gives you the confidence to handle high-traffic environments without fear of permanent staining or shrinkage.
As a family-run British business, we specialise in providing peace of mind through technical excellence. Our UK-manufactured displays feature precision-cut silicone edges and durable dye-sublimation printing designed to withstand the rigours of the modern trade show floor. Explore our range of premium Silicone Edge Graphics and benefit from expert technical support that ensures your displays remain flawless for years to come. Your next event is an opportunity to lead your industry; with the right maintenance, your graphics will always be ready to perform.
Frequently Asked Questions
Can I use a tumble dryer for my stretch fabric graphics?
Tumble dryers are the primary cause of display failure. The high heat levels permanently contract polyester fibres and warp the silicone gasket, making re-installation into the frame impossible. Always air-dry your graphics. For the best result, install them onto the frame whilst slightly damp. This allows the natural tension of the hardware to pull out any minor creases as the fabric dries, ensuring a flawless, drum-tight finish for your next exhibition.
Will machine washing cause the colours to bleed or fade?
Dye-sublimated graphics are exceptionally resistant to fading because the ink is molecularly bonded to the polyester. When you follow the protocols for how to clean stretch fabric graphics, such as using a 30-degree wash and non-bio detergent, the colours will remain vibrant. Avoid biological detergents and bleach, as these harsh chemicals can break down the bond between the ink and the fibre, leading to premature dulling of your high-impact brand imagery.
How do I remove heavy grease or oil stains from an exhibition graphic?
Heavy grease stains require a targeted approach. Apply a small amount of concentrated non-bio detergent or a verified stain remover like OxiClean directly to the mark. Use a clean microfibre cloth to blot the area firmly; never rub, as this damages the fabric’s surface. If the stain is particularly stubborn, a full machine wash at 30 degrees may be necessary to lift the oils from the deep weave of the polyester fibres.
Do I need to remove the silicone edge before washing?
Keep the silicone gasket attached to the graphic during the cleaning process. Removing the SEG usually results in damaged stitching or a stretched-out edge, which ruins the precision fit of your display. The silicone is designed to withstand the water and mild detergents used in a standard 30-degree wash cycle. Simply fold the graphic with the print on the inside to protect both the image and the gasket from the washing machine drum.
Can I iron my fabric graphics to remove stubborn wrinkles?
Avoid using a traditional iron. Direct heat from an iron’s plate can “glaze” or melt synthetic polyester fibres, creating permanent shiny patches. The professional alternative is a handheld steamer. Once the graphic is tensioned on its frame, use the steamer from a distance of 10cm. This gently relaxes the fibres without the risk of heat damage, allowing you to remove stubborn storage creases whilst maintaining the fabric’s high-performance stretch recovery.
What is the best way to store a large SEG graphic between events?
Rolling your graphics onto a cardboard tube is the best way to prevent creases and protect the silicone edge. If space is limited, fold the graphic loosely with the image facing inwards. Store the display in a breathable bag within a cool, dry, and dark environment. This prevents moisture build-up and UV degradation, ensuring your how to clean stretch fabric graphics efforts aren’t wasted by poor storage conditions between your events.
How often should I clean my fabric displays?
Clean your graphics only when they show visible signs of soiling or dust accumulation. Whilst polyester is durable, repeated machine washing can eventually impact the material’s elasticity and “memory.” Most professionals find that a deep clean is only necessary after every three or four high-traffic exhibitions. Between these washes, use spot cleaning techniques and dry Magic Erasers to manage minor scuffs and maintain a pristine appearance without over-processing the textile.
Is it safe to wash backlit/illuminated fabric graphics?
It is safe to wash backlit graphics, but you must be meticulous. These fabrics have a higher ink density and specialised coatings to diffuse light. Any residual detergent or soap scum will become highly visible once the graphic is illuminated. Ensure a thorough rinse cycle and allow the fabric to dry completely before switching on the lights. This prevents “ghosting” or streaking that can detract from the high-impact glow of your light box.